NEW: Learning electronics? Ask your questions on the new Electronics Questions & Answers site hosted by CircuitLab.
Project Help and Ideas » LED Marquee Walk thru - Sort of...
|
November 15, 2009 by Rick_S 
|
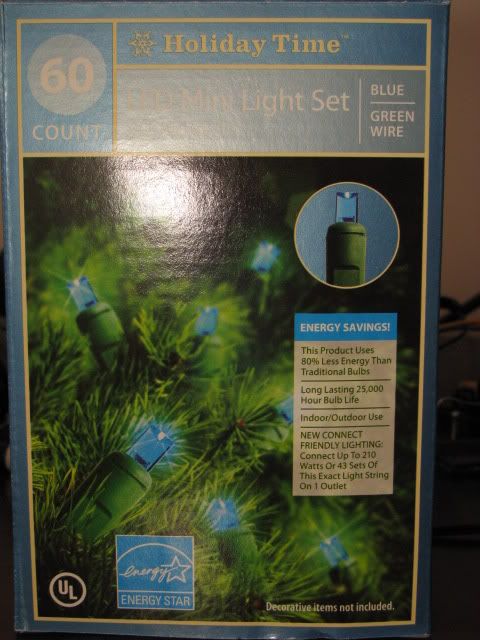
In case anyone is interested, I thought I'd post the progress start to finish of my marquee. I built mine from scratch using the following. Materials: (1) Piece of laminate flooring cut to 5" x 19-3/4" (2) 60 light strands blue LED Christmas lights (Purchased mine at Wal-Mart)
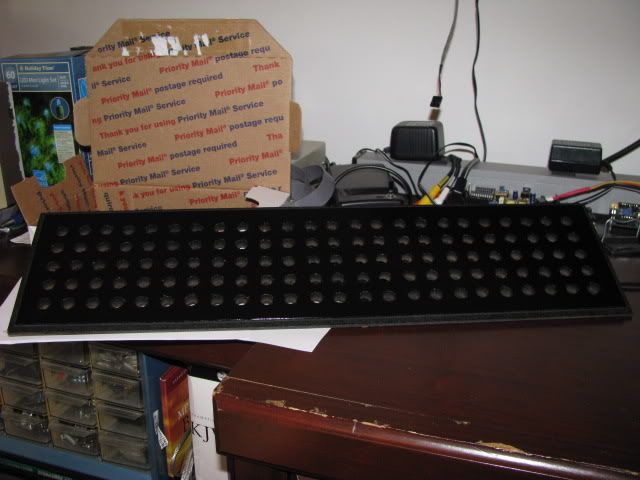
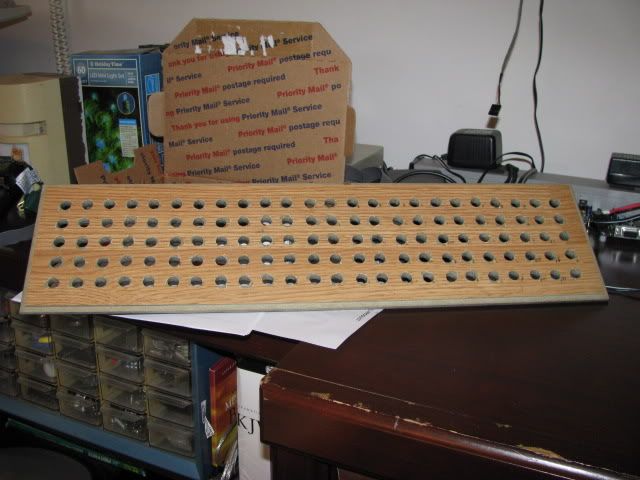
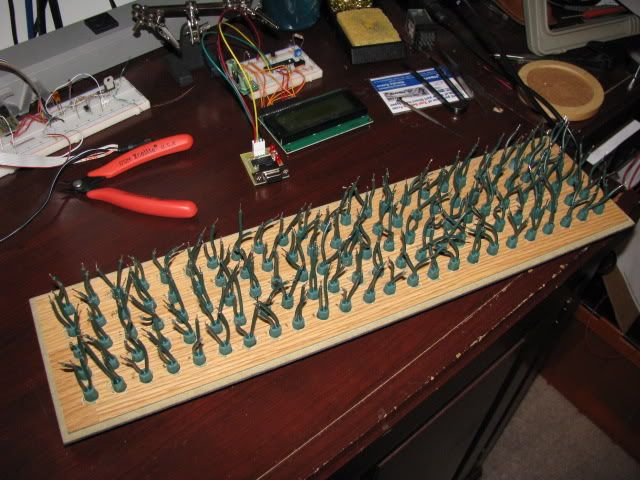
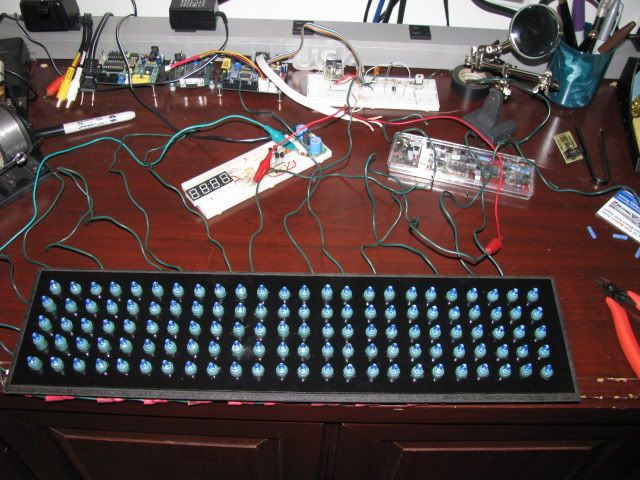
Black spray paint
About 2Ft of ribbon cable (old floppy cable split to 17 conductors)
Tools: 23/64" drill bit (Size may vary based on lights purchased) Center punch Cordless drill Soldering iron Solder Wire cutters Wire strippers Heat shrink tubing (various sizes) Wire ties The construction began by laying out a 3/4" x 3/4" grid on the back side of the laminate. I then center punched and drilled all the holes with the 23/64" drill. Try to keep the drill as straight as possible when drilling. I then cleaned the back side of the board and spray painted it black. Once finished, the board looked like this.
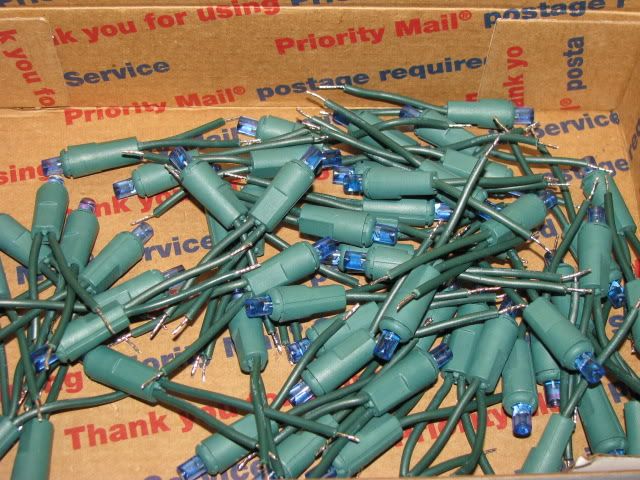
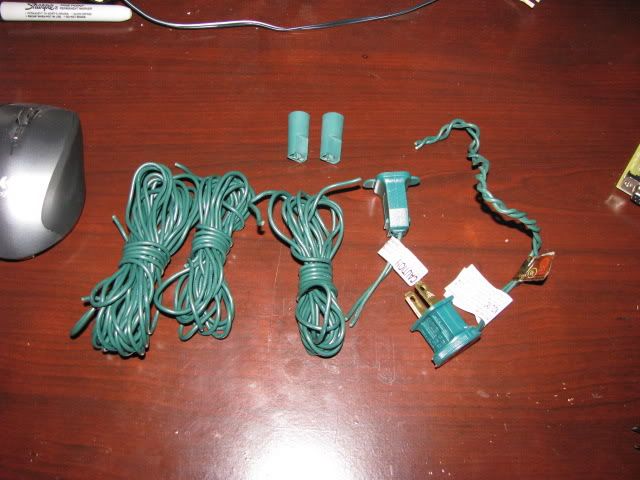
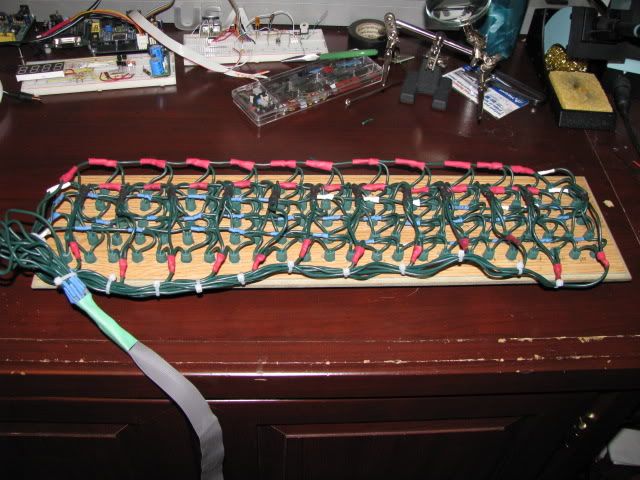
I then cut the light strands apart. When cutting the strands apart, unwind the wires as you go. The LED's are run in series so there are some long continuous lengths of wire that can be used later for the marquee assembly. After the LED's and sockets were separated from the strands, these were the bonus pieces left over.
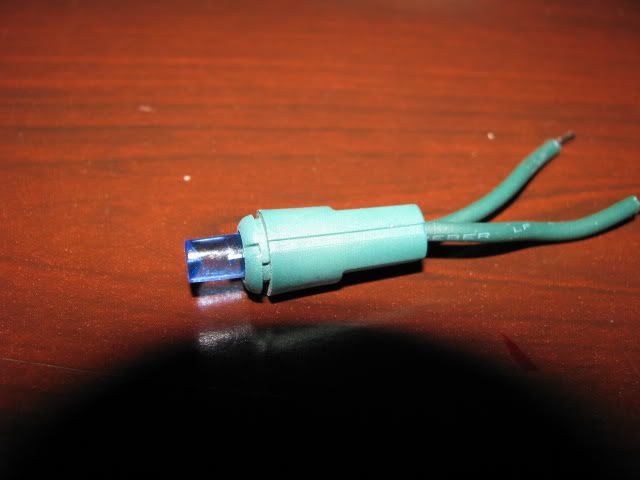
Notice I got 3 long wire sections, 2 resistors (in the green tube shaped pieces) a plug and socket from each strand. After I had all the lights separated, I looked them over. On the strands I purchased, there was a mark on one side of the socket.
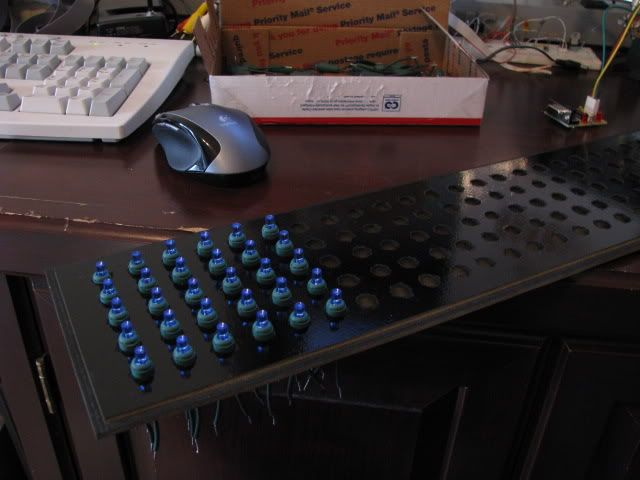
On all but a few of the lights, this side represented the anode of the LED. There were a few that were backward though. I did go through all of them to make sure they were all set anode to striped side. I then began the process of installing the LED's in the board keeping the striped on the socket facing the same direction on all of them. This configured them anode to cathode as needed for the column wiring.
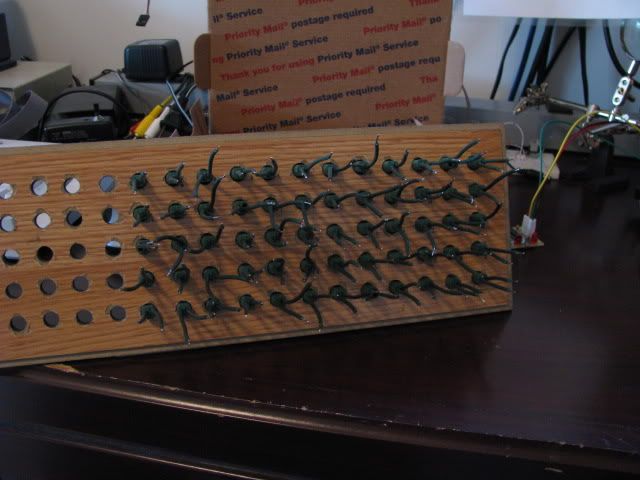
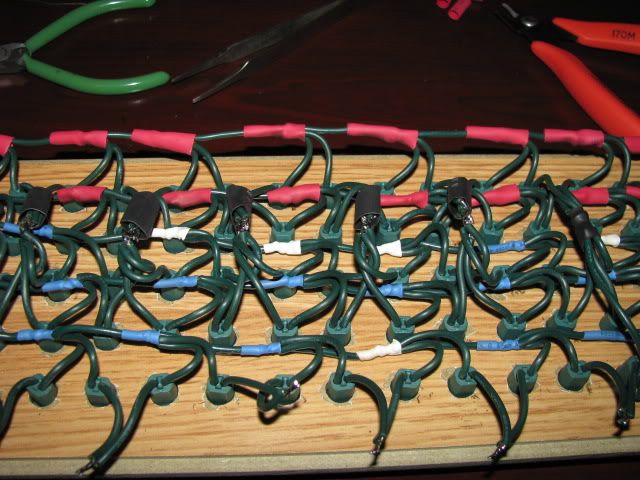
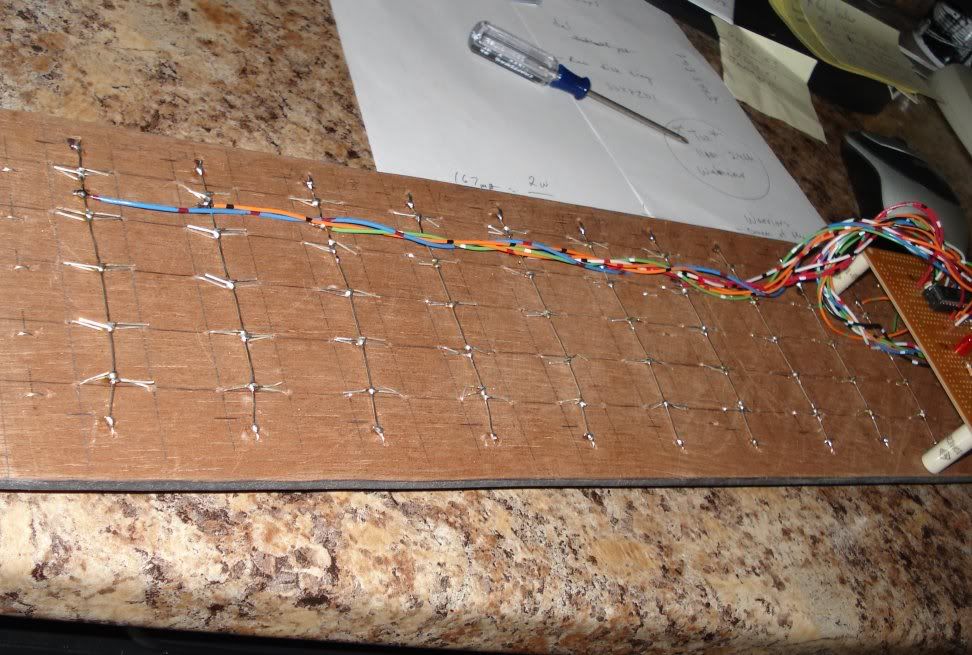
Once the LED's were all in place, I began the daunting task of soldering all the wires. I first soldered each of the rows skipping each column pair as I went. I then soldered the column wires.
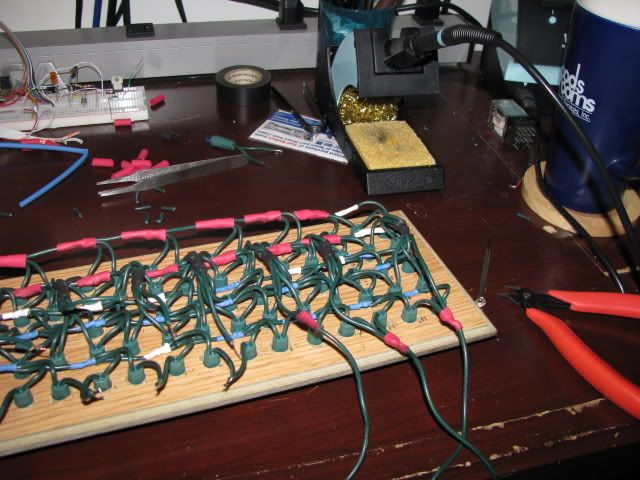
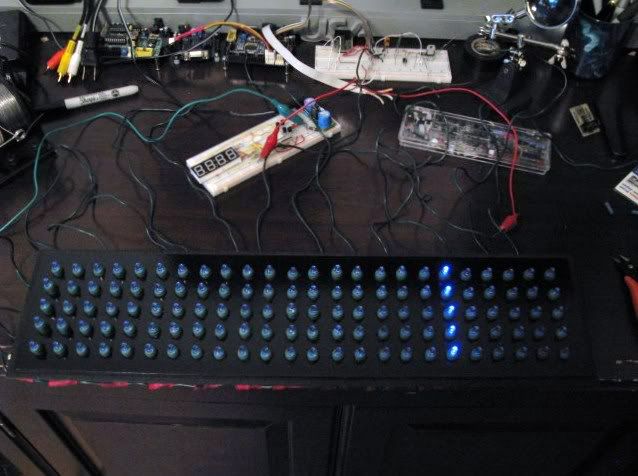
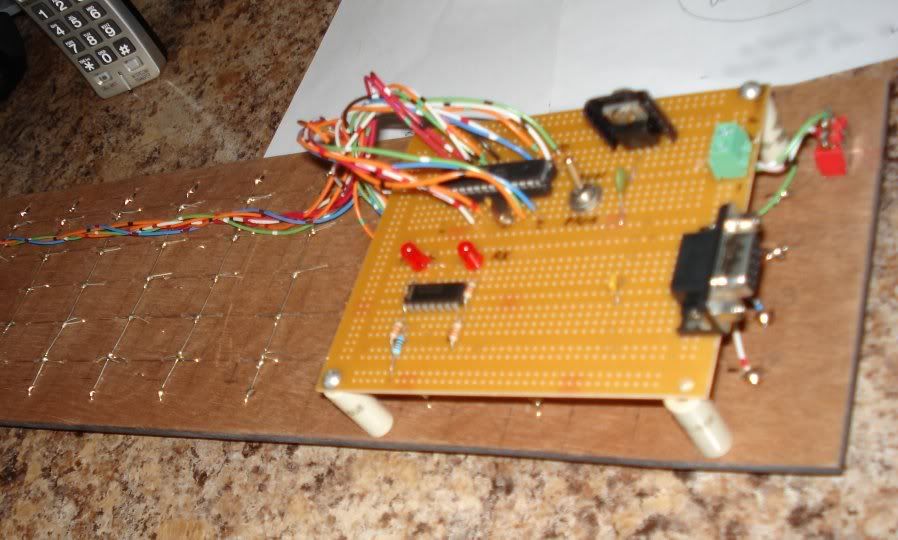
At this point, I was ready to test. To do this, I connected all the row wires together and hooked an alligator clip jumper wire to it. Then one at a time, I connected a column wire to another jumper. I then connected the jumpers to 5vdc with a 1k resistor in series. At this point, one column lit. I would then swap the polarity of my jumpers to see the other column fed by that wire light. I did this for all column wires. Not only did this confirm all the connections were good, It allowed me to double check that each LED was installed correctly in it's socket. Here's a couple of photo's showing the test setup and a column lit during a test.
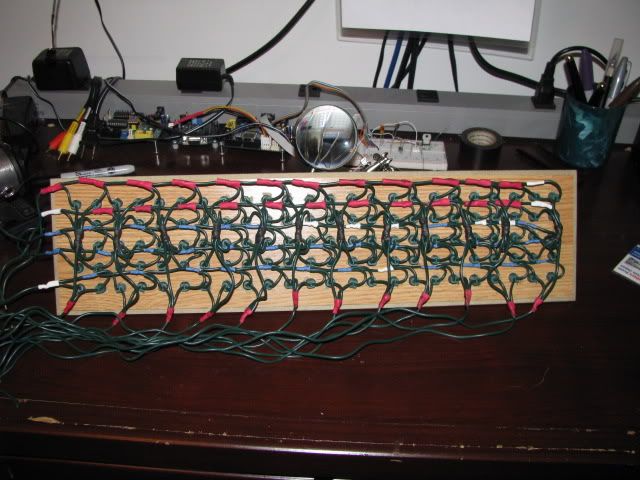
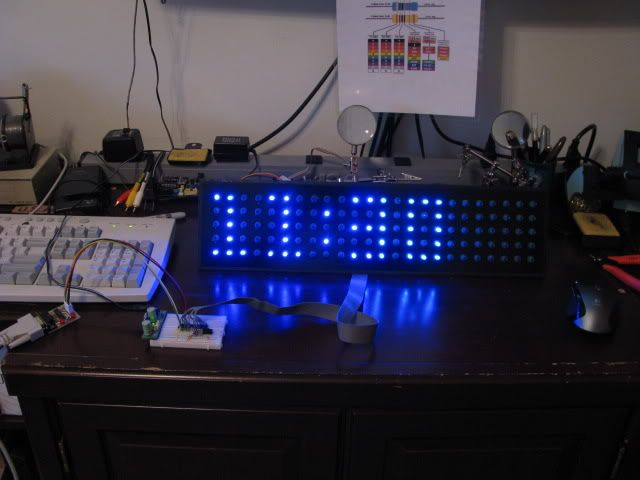
I then separated the 17 conductors in the ribbon cable on each end, stripped and tinned the wires and attached them to the marquee wires starting with row zero thru 4 then column 0 thru 11. I then wire tied everything in place.
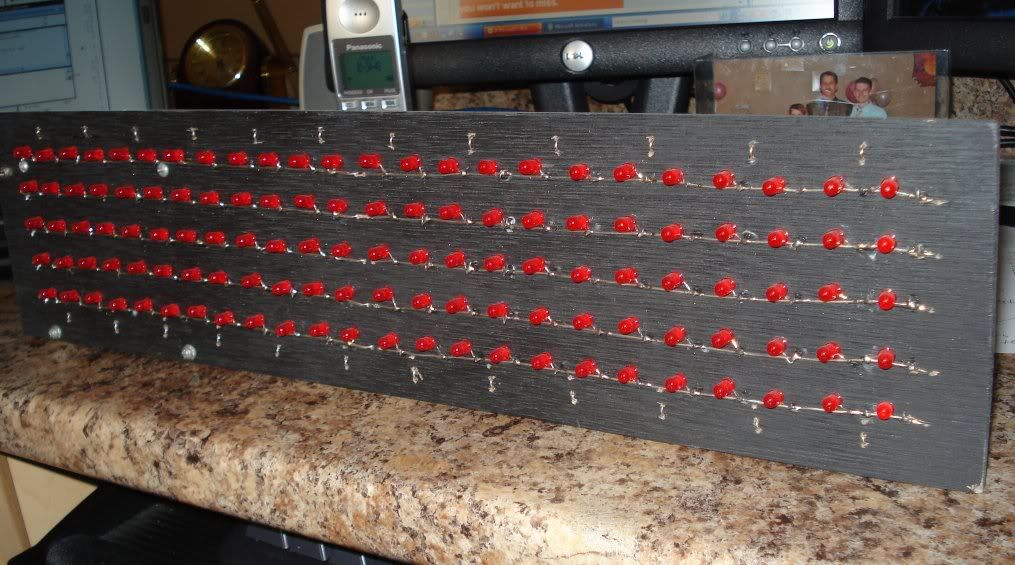
Then came the moment of truth... SUCCESS!!!
Even setup python on the pc so I could send my own messages...
I hope this has been helpful to anyone attempting this project on your own. I will warn you, this is a very time consuming project. Be prepared to spend several hours soldering. However, the reward seeing it running is worth the effort!! Rick |
|---|---|
|
November 15, 2009 by Rick_S
|
Sorry, all the materials and tools kinda blurred together. I typed the message offline and didn't catch it did that... Here it is formatted a little more legibly. :) Materials:
Tools: |
|
November 15, 2009 by mcai8sh4 
|
Rick_S : Excellent write-up! Clearly shows what/how you did. Thanks for taking the time to document your process. You look to have some serious kit there, I'm guessing electronics is more than just a hobby :D Well done. Keep us posted of your other projects. -Steve |
|
November 15, 2009 by Rick_S
|
No, just a hobby. Albeit one that I'm a bit obsessed with. :) Thanks for the kind words. My main goal with the Nerdkit is to learn C-Programming. I was very fascinated with the marquee and thought programming for it would be quite the challenge. I hoped by by documenting my construction details it might be helpful to someone else looking to build. Rick |
|
November 15, 2009 by FWSquatch |
Holy Cow! That's a beauty, Rick! It looks like it could take a beating. I wish I'd have made mine a little tougher. I'm working on an enclosure for it now. |
|
November 15, 2009 by Rick_S
|
I plan to as well. I undercut the edges to be like a tongue in a tongue and groove setup. I want to cut some 3/4" boards with a groove and kind of frame a box around it. Maybe that will be a project for next weekend :). I told the wife when I cut up the light strands that I may try to make some sort of Christmas disply out of it for the holidays. Have to make it look nice for that... |
|
November 15, 2009 by hevans (NerdKits Staff) 
|
That looks awesome Rick. In our projects we tend to think much more about he electronics and programming, so our projects tend not to look very "finished" when they are done. It's great to see an LED Array look that good. Keep up the great work. Humberto |
|
November 15, 2009 by mrobbins (NerdKits Staff) 
|
Hi Rick, Awesome construction and nice photos! We tend toward the cardboard / foamboard / etc because it's so cheap and easy to work with, but your finished product is really impressive. From your photos, it looks like those LED enclosures help make the light less directional, eliminating the need for a separate diffuser material. I'm also happy to see it works well with the blue LEDs, despite the fact that they usually have a much higher forward voltage than the red LEDs we used. Great work! Any plans for how you're going to use the finished display? Mike |
|
November 15, 2009 by n3ueaEMTP 
|
AWESOME!!! Gives me more motivation to get down to business & build my own. Nice work Rick. |
|
November 15, 2009 by Rick_S
|
Thanks for the compliments. Lord knows it took a while to build. I'll be sure to post the final photo's once it's in its box. The LED's used in the Christmas strands have a concave end which really seems to help the operation without a diffuser. As to what I want to do with it, firstly I want to make a display that animates a few strings. One to take a series of asterisks (snow-flakes) and one at a time stack them scrolling from right to left until the display is full of them. Then Static "MERRY" Then Scroll "CHRISTMAS". Then Scroll "MERRY CHRISTMAS" a couple of times. Then repeat ... I know I'll have to make a new font file (or change the current one). I just need to figure out the programming. That's my challenge. I'll be studying your tutorial code as best I can. After that I don't know. I'll probably try out your sound meter and then look for something else interesting to do with it. |
|
December 10, 2009 by Kevin |
Nice job and good idea using the LED holiday lights! Mine did not come out as nice but I thought I would post the pics anyway. I am going to get some red translucent plexiglass for the front.
|
|
December 10, 2009 by Rick_S
|
Very nice job! I like your board too. Everything looks well laid out. I need to get a few DB-9 female board connectors. Anyone else with pics to share?? It's great to see everyone's ideas and different takes on a given project. Rick |
|
December 30, 2009 by Solorbob |
Great job Rick. I like you idea of the Christmas lights. I'm heading out to see if I can still find a few boxes on the shelves. |
|
December 30, 2009 by Rick_S
|
Thanks, Better hurry, the LED lights seemed to go pretty fast in my area this year. I think the prices were finally getting down to where people weren't afraid to buy them. This made for a great project for me. I got a lot of enjoyment and learned a ton from it. Hope it goes as well for you!! Rick |
Please log in to post a reply.
|
Did you know that signed numbers need to be sign-extended when chaging variable sizes? Learn more...
|


Copyright © 2013 by NerdKits, L.L.C.